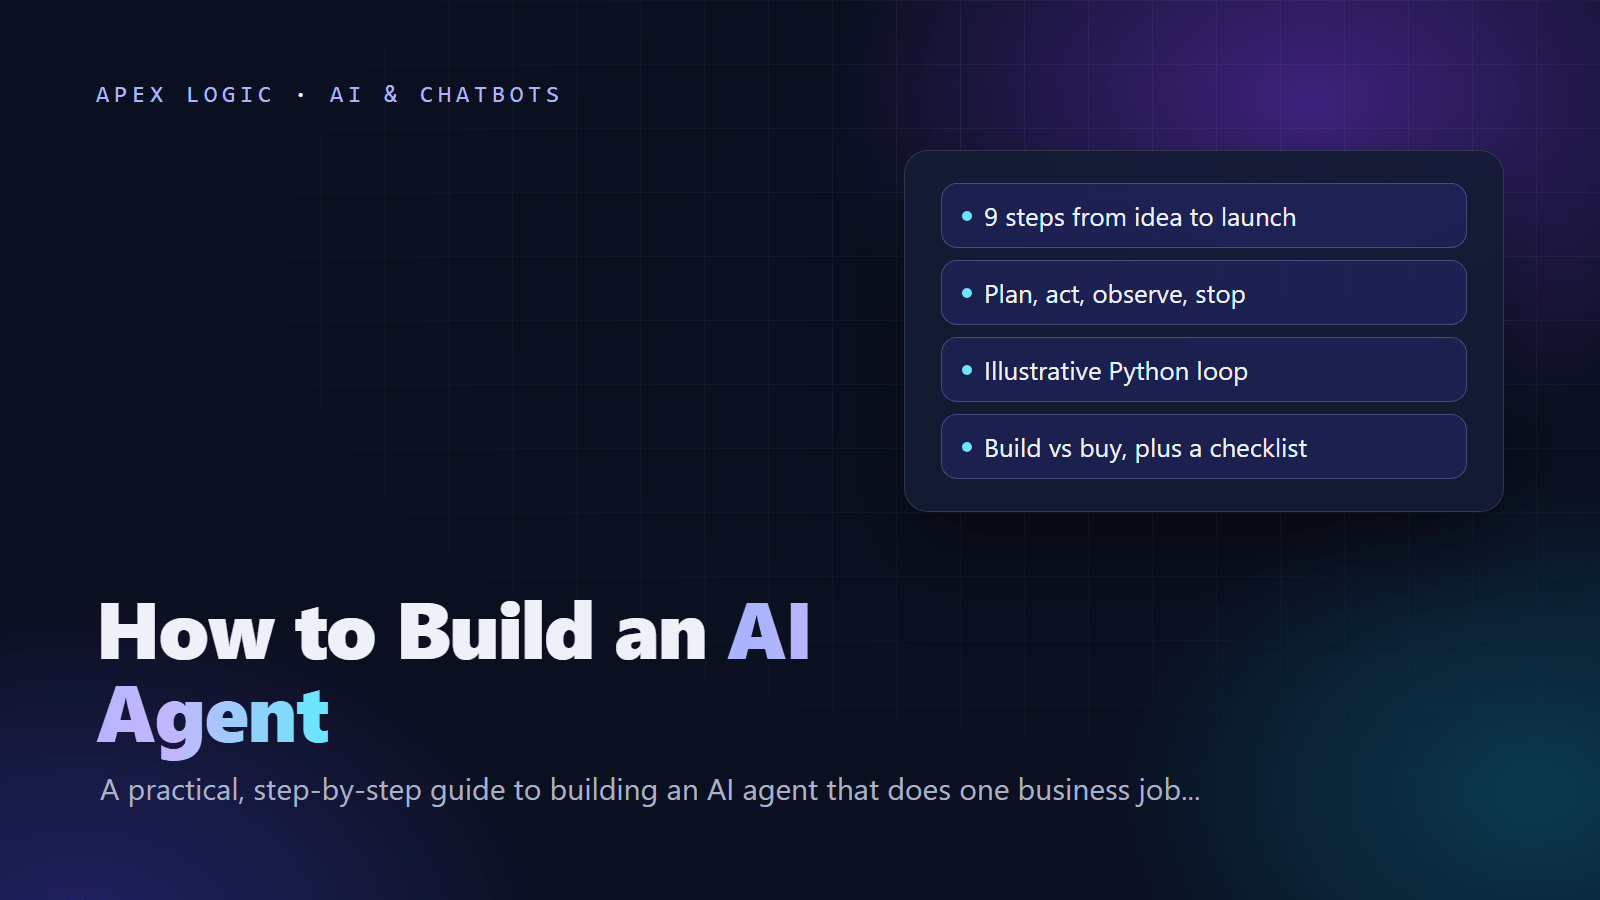
Updated 16 October 2026. New guide: nine steps from a scoped job to a monitored agent, with an architecture outline, a Python sketch and a checklist.
To build an AI agent for your business, pick one narrow, repetitive job, give a language model a small set of tools with tight permissions, and run it in a loop: plan the next step, act with a tool, observe the result, and stop when the job is done or a limit is reached. Then add retrieval so it works from your own data, human approval for risky actions, and tests on real past cases before it touches a customer.
This AI agent tutorial breaks that into nine steps, from scoping the job to monitoring in production. You also get an AI agent architecture outline, a short Python sketch, a build-vs-buy comparison and a checklist to copy.
What an AI agent is, and when you do not need one
An AI agent is software in which a language model decides its own next step: it reads a goal, chooses a tool, looks at the result and repeats until it is finished. Anthropic's guide to building effective agents draws a useful line: workflows run models and tools through predefined code paths, while agents let the model direct its own process. Its advice is to use the simplest solution that works.
So check first. If the steps never change (read an invoice, extract the fields, post them to accounting), a fixed workflow with one AI step is cheaper and easier to test. Choose an agent when the path changes from case to case, such as a support email that might need an order lookup, a refund check or a handoff. Our explainer on AI agents for business has more examples.
Step 1: Pick one narrow job
A common mistake is starting too wide. "Handle customer service" is a department. "Answer where-is-my-order emails using the order system, and hand everything else to a person" is a job. A good first job happens often, follows rules you can write down, has a clear finish line and fails safely.
Write a one-page job spec before any code. Copy this template:
Job: [one sentence, e.g. answer order-status emails]
Trigger: [new email in the support inbox with an order number]
Inputs: [email text, customer record, order record]
Allowed actions: [look up order, draft reply, add tag]
Needs approval: [refunds, address changes, anything over $X]
Never: [delete data, promise dates the system does not show]
Done when: [reply drafted and ticket tagged, or handed off]
Hand off when: [no order found, angry customer, legal words]
Success measure: [share of drafts sent without edits]
If you cannot fill in "Done when" and "Hand off when", the job is not ready for an agent yet.
Step 2: Define tools and permissions
Tools are the functions the agent can call: search orders, read a document, draft an email, create a ticket. With function calling, also called tool use, the model does not run anything itself. It returns a tool name and arguments, your code runs the tool, and you send the result back. OpenAI, Anthropic and Google all document this same loop.
Design tools the way you would design an API for a new hire:
- Few and specific.
get_order_status(order_id)beats a generalrun_sql(query). OpenAI's function calling guide suggests fewer than 20 functions available at the start of a turn. - Clear descriptions. The model picks tools by their descriptions, so say what each one does, what it returns and when not to use it.
- Strict inputs. Use schemas, enums and required fields so bad arguments fail in your code, not in your database.
- Least privilege. Give the agent its own service account with only the access this job needs.
Then sort every tool into a permission level:
| Level | Examples | Rule |
|---|---|---|
| Read | Look up an order, search the help center, read a file | Runs automatically, logged |
| Draft | Write a reply, prepare a refund, fill in a form | Runs automatically, a person sends or submits |
| Act | Send an email, issue a refund, change a record | Human approval until the agent earns trust |
| Never | Delete data, change permissions, pay invoices | Not given to the agent at all |
If your tools live in other systems, the Model Context Protocol (MCP) gives you a standard way to connect them, so one integration can serve several AI apps.
Step 3: Choose a model
The model is the agent's decision maker, so choose it by how reliably it handles your job, not by general benchmarks:
- Shortlist two or three models from different providers. Our Gemini 4 vs GPT-6 vs Claude comparison is a good start, and the Gemini 4 Argon guide covers the first Gemini 4 model.
- Run each on the same 20 to 30 real cases from Step 7. Compare tool-call accuracy, answer quality and cost per finished task.
- Consider a split: a cheaper model for routing and simple steps, a stronger one for hard reasoning.
- If data must stay on your own servers, compare open-weight and API models.
Pin the exact model version in production, and re-run your tests before you switch.
Step 4: Design the agent loop
Every agent runs the same cycle: plan (decide the next step), act (call a tool), observe (read the result) and stop (finish, hand off or hit a limit). Here is a simple default AI agent architecture, as an ordered flow:
- Trigger. A new email, form, ticket, chat message or schedule starts a run.
- Orchestrator. Your code loads the job instructions, the request and the run's state.
- Context. Retrieval fetches relevant documents, records and saved memory.
- Model. The model either answers or asks for tool calls.
- Tool layer. Your code validates arguments, checks permissions and runs the tool.
- Approval gate. "Act" tools pause until a person approves or rejects the call.
- Observation. Results go back to the model, and the loop repeats from step 4.
- Stop. The run ends when the job is done, the agent asks for help, or a limit is reached.
- Logs and metrics. Every step, tool call, cost and outcome is recorded.
A minimal AI agent in Python looks like the sketch below. It is illustrative pseudo-code: the helpers stand in for your provider's SDK and your own systems, and a real build needs error handling, retries and security work.
# Illustrative pseudo-code only. The helpers are placeholders.
MAX_STEPS = 8
NEEDS_APPROVAL = {"send_email", "issue_refund"}

def run_agent(task, model, tools):
    messages = [job_instructions(), user_message(task)]
    for step in range(MAX_STEPS):
        reply = model.generate(messages, tools=tools.schemas())   # plan
        messages.append(reply)
        if not reply.tool_calls:
            return finish(task, reply.text)
        for call in reply.tool_calls:
            if call.name not in tools.allowed:
                result = "Error: this tool is not allowed."
            elif call.name in NEEDS_APPROVAL and not human_approves(call):
                result = "Rejected by a reviewer. Do not retry."
            else:
                result = tools.run(call.name, call.arguments)     # act
            log_step(task, step, call, result)
            messages.append(tool_result(call.id, result))         # observe
    return hand_off(task, reason="step limit reached")            # stop
Three details matter more than any framework: the step limit stops runaway loops, tool errors go back to the model as text so it can recover, and every exit ends in a finished task or a clean handoff. Anthropic also suggests starting with direct API calls before adopting a framework.
Step 5: Add memory and retrieval
Agents need two kinds of memory. Short-term memory is the conversation and tool results inside one run; keep it lean by summarizing long tool outputs. Long-term memory carries across runs, such as customer preferences and past decisions. Store it as structured records in your own database, not as a growing pile of chat logs.
For company knowledge such as policies, product sheets and manuals, use retrieval-augmented generation (RAG): find the passages that match the request and give only those to the model, with their source. Our guide to production RAG architecture covers chunking, search and citations. Apply permissions here too: the agent should only retrieve documents the person it serves may see.
Step 6: Add guardrails and human approval
An agent that reads emails, web pages or documents can be manipulated by text hidden inside them. This is prompt injection, the first entry in the OWASP Top 10 for LLM Applications (2025 edition). The same list warns about excessive agency: damage caused by giving a model too much functionality, too many permissions or too much autonomy. You cannot prompt your way out of either, so build the limits into code:
- Treat retrieved content as data, never as instructions. It must never change what the agent may do.
- Validate every tool call in code: allowed tool, allowed values, amount limits, the right customer.
- Require human approval for every "act" tool until the logs show it is safe. n8n, for example, can pause an AI Agent before a chosen tool runs until a person approves or denies the call.
- Check outputs before they leave: no personal data in public replies, no promises outside policy.
- Keep a kill switch that disables the agent's write tools in one step.
Put these rules in your company AI policy too, so staff know what the agent may do and who approves its actions.
Step 7: Evaluate with real examples
Before launch, build an evaluation set:
- Collect 30 to 50 real past cases, including messy ones. Remove personal data you do not need.
- Write the correct outcome for each: the right tool calls, the right answer, or "hand off".
- Run the agent on all of them. Score task success, wrong tool calls, blocked unsafe actions, handoff accuracy and cost per task.
- Fix the biggest failure pattern first (often a vague tool description or missing data), then re-run the full set.
- Add every production mistake to the set, so the same failure cannot return unnoticed.
Set a launch bar in advance, for example "no unsafe actions, and at least 9 in 10 tasks done correctly or handed off properly". Then launch in shadow mode: the agent drafts, people decide, and you compare its drafts with what your team actually did.
Step 8: Control cost
Agents cost more than single prompts because every loop resends the context. Keep the bill predictable:
- Cap steps and tokens per run, and alert when runs get close to the cap.
- Trim context. Send summaries and the few retrieved passages that matter, not whole histories.
- Use prompt caching for the long parts that repeat, such as instructions and tool definitions. Anthropic, for example, bills cache hits at a fraction of its normal input price, as of 16 October 2026.
- Batch work that can wait. As of 16 October 2026, Google's Gemini Batch API and Anthropic's Batch API are both priced at 50% of standard rates.
- Route simple steps to cheaper models, and track cost per finished task, not cost per call.
Our LLM API cost guide shows how to estimate a monthly bill before you build.
Step 9: Deploy and monitor
Run the agent like any production service, plus:
- Trace every run: the input, each model and tool call with its arguments and result, approvals, the final output, tokens and cost.
- Watch a small dashboard: runs per day, success rate, handoff rate, rejected approvals, errors and cost per task.
- Alert on anomalies: cost spikes, repeated tool errors, runs hitting the step limit.
- Review samples weekly. Read 20 runs and add the mistakes to the evaluation set.
- Widen autonomy slowly. Move a tool from approval to automatic only when the logs show it is consistently right.
Standard security still applies: secrets in a vault, rate limits, audit logs and access reviews.
Build vs buy: which route fits
You do not always need custom AI agent development. Some help desk and CRM products include agent features. Automation platforms are another route: n8n, Zapier and Make all let you add AI steps to workflows, and n8n and Make offer agents that choose and call tools.
| Route | Best for | Watch out for |
|---|---|---|
| Buy: agent features in software you already use | Standard jobs inside one product, such as help desk replies | Limited control over data, logic and testing |
| Configure: n8n, Zapier or Make | Jobs that connect a few apps, with simple branching | Complex logic, thorough testing and running costs at high volume |
| Build: custom code on a model API | Jobs tied to your own data, rules and systems, or high volume | Needs engineering, evaluation and an owner after launch |
A simple rule: buy when the job is standard, configure when it is mostly moving data between apps, and build when the job depends on your own data and rules or must run at volume. If you plan to hire help, read how to choose an AI development company first. For budgeting, our published range for a custom AI chatbot or LLM integration is $1,500 to $10,000 as of 16 October 2026, and a single AI feature typically takes 2 to 4 weeks.
AI agent checklist
- One job, written as a spec with a trigger, a finish line and handoff rules
- A small tool set, each tool with a clear description and strict inputs
- Every tool labeled read, draft, act or never
- A dedicated service account with least-privilege access
- Two or three models tested on the same real cases
- A step limit, token budget and timeout on every run
- Retrieved text treated as data, never as instructions
- Human approval for every "act" tool at launch
- An evaluation set, a launch bar and a shadow period
- Tracing, cost alerts, a kill switch and a named owner
If you would like a second opinion on an agent idea, or a team to build it, tell us about the job. We work on fixed quotes, and you own 100% of the code.
How to build an AI agent: FAQ
How long does it take to build an AI agent?
It depends on scope and on how easy your systems are to connect. For a narrow job with a handful of tools, most of the time goes into building and testing the tools, assembling an evaluation set and running a shadow period. For reference, a chatbot or single AI feature typically takes us 2 to 4 weeks. Agents that touch many systems take longer.
Do I need Python to build an AI agent?
No, but it helps. The major model providers publish official SDKs for Python and JavaScript, and most examples use them. If you do not code, platforms such as n8n and Make let you build simpler agents visually, with AI steps and app connections. For agents tied to your own database, complex rules or high volume, custom code gives you more control over testing, permissions and cost.
What is the difference between an AI agent and a chatbot?
A chatbot answers questions in a conversation. An AI agent works toward a goal by choosing and calling tools, such as looking up an order or updating a record, and decides its next step from the results. Some chatbots also include agent features. The practical difference is permissions: once software can act in your systems, it needs approval rules, limits and logs.
Which model is best for an AI agent?
The best model is the one that completes your job most reliably at a cost you accept, and only a test on your own cases shows that. Shortlist two or three models, run the same 20 to 30 real examples through each, and compare tool-call accuracy, answer quality and cost per finished task before you decide.
Is it safe to let an AI agent send emails or change records?
It can be, with the right controls. Start with read and draft permissions only, require human approval for anything that sends, pays or changes records, and validate every tool call in code. Treat text from emails and web pages as untrusted, because it can hide instructions. Widen autonomy one tool at a time, only after the logs show the agent is consistently right.
How much does it cost to run an AI agent?
Running cost depends on how many tasks the agent handles, how many steps each task takes and the model's token prices. Each step resends context, so agents cost more per task than a single prompt. Cap steps, trim context, cache repeated instructions and batch work that can wait. Measure cost per finished task in testing, then multiply by your monthly volume.
Sources
- Anthropic: Building effective agents
- OpenAI: Function calling guide
- Anthropic: Tool use with Claude
- Google: Function calling with the Gemini API
- Model Context Protocol: What is MCP?
- OWASP Top 10 for LLM Applications (2025)
- OWASP: LLM06:2025 Excessive Agency
- n8n: Human-in-the-loop for AI tool calls
- n8n: AI Agent node
- Make: Introduction to Make AI Agents
- Zapier: Use AI by Zapier
- Google: Gemini Batch API
- Anthropic: Claude API pricing, batch and prompt caching
Loading comments...